MAXS Quickstart Guide
Table of Contents
1. Introduction
This document will guide you through the process of setting up a typical MAXS deployment using XMPP on your Android device. If you have any questions, feel free use the available contact channels.
2. Prerequisites
The minimal prerequiste for using MAXS over XMPP is a personal XMPP account, from now on referred to as user account. This account will receive notifications from MAXS and will be able to send commands to MAXS. The XMPP address, also called JID (Jabber ID), of the user account will be configured as master address in MAXS.
But in order to be able send and receive XMPP packets, MAXS needs also an XMPP account, we will call this account simply MAXS account.
3. Installing the Suite
MAXS can be obtained from Google's Play Store, F-Droid or via direct download: projectmaxs.org/getmaxs
It is important that you first install MAXS main and lauch it once so that Android recognized the permissions declard by MAXS. After that you can install all other modules and transports.
If you don't launch MAXS Main prior installing the other components, they will be unable to register with MAXS Main. Launching MAXS Main, uninstalling and re-installing the affected components resolves this.
4. MAXS Main Screen
If MAXS is installed correctly, you should see at least one registered Transport (A). Now proceed with configuring the Transport by pressing the 'More' Button (B) right of the Transport's entry.
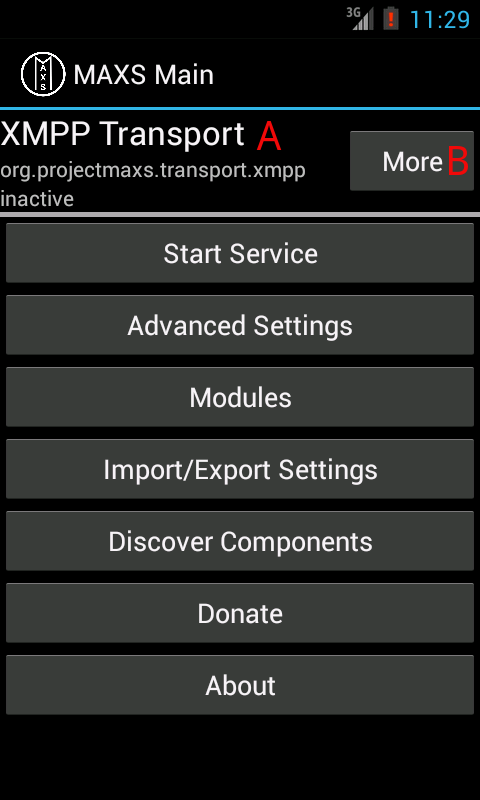
Figure 1: MAXS Main screen
5. Configuring the XMPP Transport
Start with adding your user account as master address in A. Now enter the device account information in B. You have two options here:
- You already created an account for MAXS, then simply enter the JID and password in B
- You don't have already created an account for MAXS. Then either create one or register an account at one of the many free of charge and open XMPP servers worldwide.
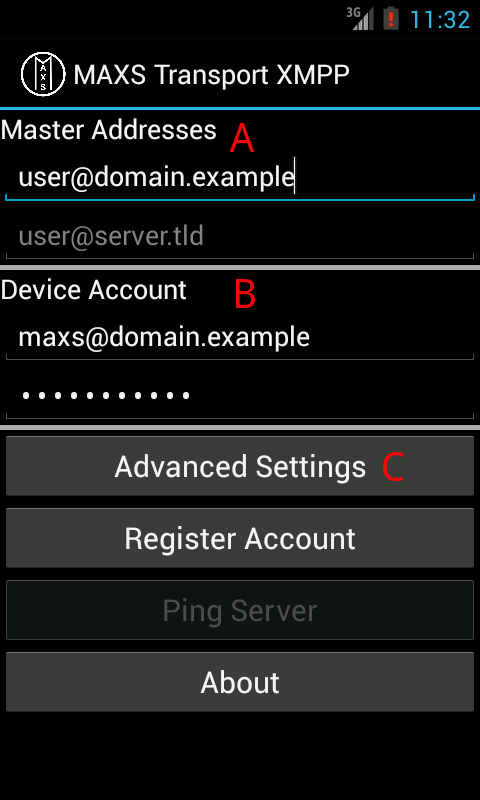
Figure 2: MAXS Transport XMPP Configuration
5.1. Register an XMPP account with MAXS
In order to register an account from MAXS you need to choose an XMPP service and server first. Here is a small incomplete list of XMPP service providers that respect your privacy:
For more public XMPP servers visit https://xmpp.net/directory.php
Now simply enter your choosen JID, e.g. user@yax.im and a good strong password under "Device Account" (B) and press the "Register Account" button.
5.2. Advanced XMPP settings
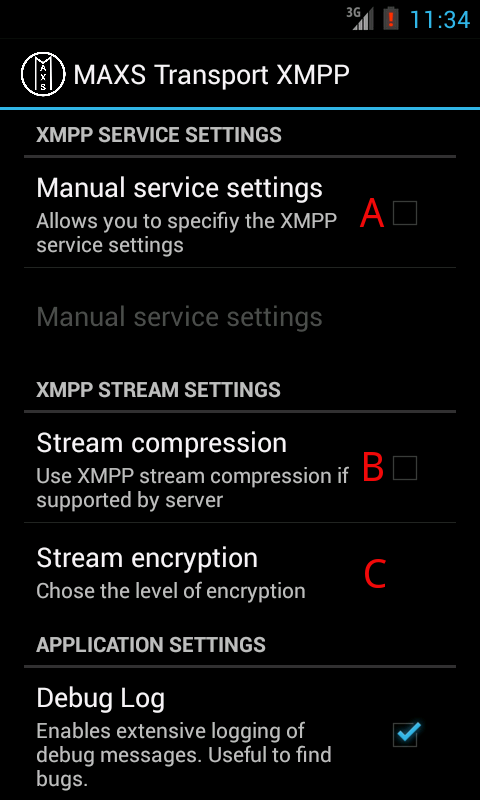
Figure 3: MAXS Transport XMPP Advanced Settings
5.2.1. Manual XMPP service settings (A)
If your XMPP server does not accounce its availablitiy over DNS SRV records, then you may have to configure the server data (host, port) manually under A.
5.2.2. Stream compression (B)
Enable this if your server supports stream compression to reduce battery usage.
5.2.3. Stream encryption (C)
Choose 'required' for increased security and privacy when using MAXS.
6. Next steps
Press "Start Service" to start MAXS. In order to run MAXS all the time check the "Connect on completed boot" preference under MAXS Main → Advanced Settings → Start/Stop Options
Now is also a good time to have a look at "Introducing MAXS" if you haven't done already.